Building No Signal using Flutter and Appwrite [Part 2]

In this part we will be continue making our app No Signal using Flutter and Appwrite. I have already explained about Appwrite and how to use the authentication feature of it.

You haven’t watched my previous blog ? Stop Reading this and get back to my [Previous BLOG]
If you have read my previous blog then…..

So Let’s get back to finish what we started
We will start with designing our create_profile.dart page. When a new user sign up then we need some basic details about him like a profile picture, name and bio.
We will be creating something like this

Nothing Fancy UI but this will cover how to access the Database. If you wondering about what Database they use- appwrite uses MariaDB for database storage and queries. More info about the tech-stack can be found here .
We would be using Storage API to upload a nice little profile picture of yours in the app.
We will also be doing a little bit of error handling incase things go sideways😶🌫️
To make this screen we would be importing a new package called image_picker in our pubspec.yaml. We need this package to get an image from our gallery or camera .
dependencies:
.... # More Dependencies
  image_picker: ^0.8.4
NOTE: Make sure to follow their guide on how to setup properly for your dev device. For android I had to add some lines in AndroidManifest.xml . Just read their readme file and you would be good to go.
Now let’s look at the create_profile.dart file.
Now here there are lot of functions and providers which you aren’t aware of yet. let’s Discuss about them and implement along with it.
PS: I am bad at naming variables so please spare me here😅
I have created a new class UserData which manages all the functions related to user. For e.g. I want to add a new user, update the user details, fetch users data etc, all the related functions combined in a single class.
Let’s look at the code :-
user_data.dart
To know more about Storage Account Database APIs — all their methods, what response it gives etc, see the following:
Account
Database
Storage
Let’s also define NoSignalUser class. It’s basically all the relevant info of an user needed inside the No Signal app.
user.dart
Now its time to create some providers for it.
create a new file user_data.dart and we will store all the providers related to user function there.
We will discuss about usersListProvider and getUsersList later.
So Looks like we are pretty done, Right?

NOT YET!!!

We haven’t created a collection and defined the attributes of it in the Appwrite Dashboard. Let’s see how to create one
STEP 1
Click on Database

STEP 2
Click on Add Collection

STEP 3
Set a Collection ID and give a collection name to it. Setting a custom collection id is purely optional but it would be better if we give a custom id to it for easier understanding. Ofc, you are free to choose your own name and id here.

And this is something you should get after creating it.

Now, Let’s head over to Attribute tab to add some attributes to design how our document should actually look like.

Click on Add Attribute and add the following attributes
{
"name": Name, // A String
"bio": Bio, // String
"imgId": imgId, //String
"email": Email, // Email
"id": id //String
}
After adding them it should look something like this…..

Let’s test things out now and see if it works or not

Voila🎉🎉🎉
It works. Let’s see how things look at the appwrite dashboard

We could see an image and it looks like the one we uploaded as our profile picture.
Let’s check the permissions

PERFECT ✨
Our functions for Storage API are working perfectly as expected.
Let’s look at Users now

And Lastly at the Users Collection in Database Tab


Everything is working and has been validated in the dashboard too🥳.
But WAIT!!!!

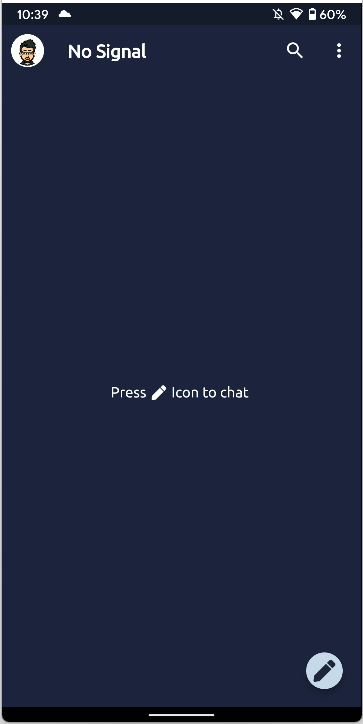
We are redirected to home_page.dart but I haven’t showed you the modified code yet.
Let’s look at it
We need to also make some changes in the _init function in the main.dart file too. Let’s look at that too
Replace the _init function with the above one. Let’s see what’s changed. At first it fetches the current session. If the user is Logged In, it will return the User model which we later need to update to NoSignalUser model. Then we change userLoggedInProvider state to true.

And that’s how we get a nice little profile picture in the App Bar.
Let’s code Users List Page
I have already added some dummy data in the server side itself. Let’s see how it looks

Let’s end this blog here.
Glad that you made it here till the end. In the next blog, I believe we would finally be working in the chat functionality, managing state and following the best practices hopefully✨
If you have any doubts or want to share some feedback in private, here’s my all my active handles in one link 😉.

EDIT:
Checkout Part 3 here
